Seeing I have lots of posts going live today I thought I would share them all in one day - so you get to enjoy multiple posts!
This project I created for Spellbinders. I am so excited to be sharing this new die set with you all. It really is ANOTHER example of the beautiful dies that are Spellbinders.
Head on over to the blog post here to see how I created it with the help of step pictures. Would love you to leave a comment letting me know what you think over there once you have had a read!
If you think that is all the shares for today... you are wrong... I will be sharing ANOTHER project WITH a video tutorial as well. Stay tuned!
Hi it's Beck BT here today and I am so excited to be sharing my very first Ruby Rock-it project today! I am probably most well known for my Scrapbook pages, so I thought that would be perfect for today's tutorial. I also thought I would spoil everyone with a video showing exactly how my page came together and some tips and hints along the way.
I fell in love with the 'Handi Scandy' collection as soon as I saw it and I knew it would be perfect for a picture of my friends and I recently taken when we went out for dinner :) This collection was so easy to work with, especially how the decorative elements such as the flowers have a soft white outline making it VERY easy for fussy cutting!
Please enjoy a video tutorial watching this layout come together. To
ensure you don't miss when I post new videos, be sure to subscribe by clicking
the 'subscribe button' - you can do this during the video as well.
Well it almost seems like old news now but I was SO excited and honored to see my layout featured on the cover of Scrapbooking Memories and I'm just getting a chance to share that with my blog followers.
And I wasn't the only one!
Here is a VERY excited boy who spotted the magazine at the local supermarket
I couldn't have been happier with how it looked all photographed and added to the cover of the magazine. I can't say that I have submitted many layouts that 'fit' the cover criteria, as I don't usually scrap a photo 5 x 7" in size, but this photo felt perfect for that size and I'm now so glad I did. You NEVER know what they are going to like/accept so you just have to give it a shot - which is what I did.
I'm a little late sharing this one - lets just say it has been a VERY busy month! I also have some very exciting stuff that has happened in the last few months that is timely I shared as well!
To start though I thought I would share my layout I did for D-lish's Monthly inspiration board challenge with enough time to hopefully inspire you to have a go!
I just adore how this layout came with this mood board as inspiration:
I had fun playing with the products from D-Lish scraps i used the most beautiful paper bags in the most vibrant of colours you can get some of these in a variety of colours here. I also used some of the sweet petites flowers that were just a perfect combination for this inspiration board and some daisy beads as well. You can find these products by clicking on them in the text but you can find many more divine products over at the website: D-Lish Scraps
Of course I teamed up the above product with some of my favourites as well.
Firstly I used some Tinby Designs Metallic Melts in Pink Sorbet on the die cut circles for a little added texture
Well I hope you enjoyed my share today and think about giving the challenge a go. I also want to say a thank you to my friend Caroline who allowed me to take this picture of her adorable daughter!
To head over to the challenge and link your entry up click here or on the inspiration board picture above.
Hi Everyone, quick share from me tonight before I head out to dinner with some dear friends!
Today I have a new post up on The Crafter's workshop blog complete with a video of the layout! Head on over to check it out :) link below
You'll have to head on over to the blog post HERE for the full layout picture - hope you enjoy learning some easy stencilling techniques!
Oh and don't forget I'll be at Melbourne Paperific Expo August 29 - 31 at my Scrappy Chat Designs Stand and I'll also be teaching classes on stand, come past pick up a kit, do a class (limited spots available) or simply say hi - Would love to see you there!
WOW I am so over the moon excited to share my amazing amazing news that I get to design for Spellbinders for another year. It has been such a wonderful year of learning that I have cherished so so much, seeing my abilities grow beyond my belief. It has gone WAY to quickly, so to be chosen to stay on and continue on this journey I can feel nothing but blessed to be one of the 10 designers working along side Spellbinders blog team who ALWAYS blow me away with each and every creation they make.
Over the next week Spellbinders are introducing the Design team one person a day. All I can say is oh my goodness what a line up of amazing designers that I get to work with, be inspired by and get to know a whole lot better. They are amazing each and every one of them.
Yesterday, the first designer was announced - Teresa Horner. Not only is she the sweetest person you could meet, she is an amazingly talented artist that crosses all facets in our industry, she has such a beautiful style and I was fortunate to get to know her very well sharing a room last year at the retreat in Arizona in the US where we were spoilt with LOTS of fun, learning, product and tools, setting us up for an amazing year ahead. So head on over to her blog to see her beautiful creations. Also stay tuned on the Spellbinders blog for announcements daily featuring each designer for the year ahead.
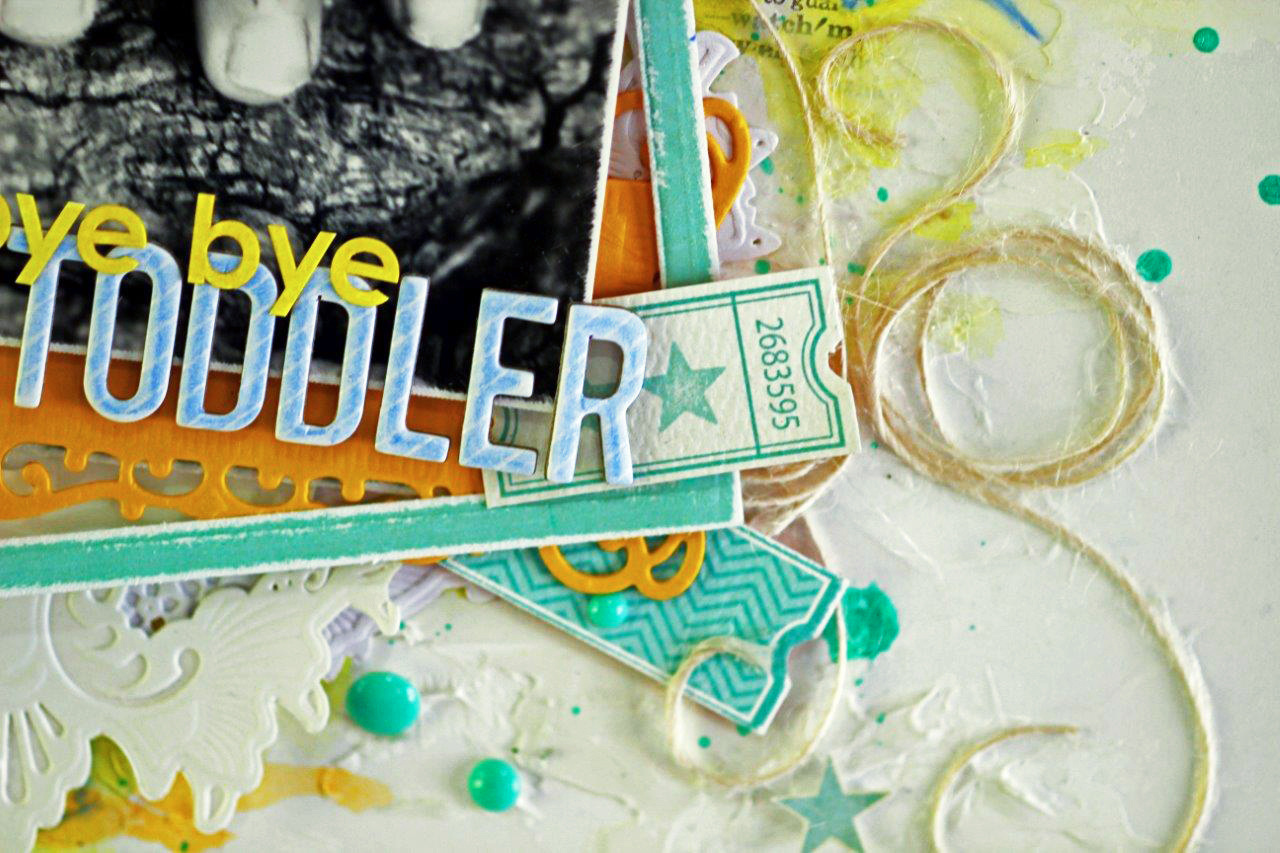
Today I wanted to share with you a layout I created that really came to life with Spellbinders dies and my favourite Faber-Castell mediums. I never thought I would have used these dies on a boy layout, but just seemed perfect for the feel I was going for. It is funny now as the dies used on this layout are some of my all time favourites! I also created this layout while travelling in our caravan on summer holidays, and another reason why I LOVE my Spellbinders dies so so much, they give me embellishments when all I have on hand is paper to make them with!
I created a video which I haven't yet shared, so scroll down to see how the layout comes together!
Click 'watch in You Tube' to see full screen
I hope I have left you with some added inspiration today :)
If you are wanting to catch me in the flesh, keep scrolling to see where I'll be teaching over the next month in Melbourne Australia.
Lots have been happening at Beck BT HQ and wanted to take a moment to share some events that are not long away now.
I want to give a big shout out to Spellbinders and Scrapmatts who are generously sponsoring ALL the classes below - so if you want to come along and play with their yummy products, please book in!
Melbourne Paperific Expo
VERY limited spots are available in the classes below at Paperific which is only a few weeks away now, so if you are wanting to come along and have some fun with me, please get your bookings in.
Mixed Media Fun Scrapbook layout
In this class we will be creating a mixed media layout full of layers and using some fun products including Faber-Castell Gelatos, Whipped spackle, Tinby Designs Metallic melts and more! I will assist you in incorporating the right colours for you photo which does not matter about it's orientation and while I have used a 6 x 4 photo, a 5 x 7 photo would look divine too!
Head on over to the Paperific website here for more details about the class as well as to book in (you need to scroll to the bottom for the booking form.
In this class you will learn lots of mixed media techniques using products such as gel medium/decopage/modge podge, heavy bodied acrylic paint, Faber-Castell Gelatos, Whipped Spackle and transfer techniques to name a few. You incorporate the colours you wish onto this one and there will be a few different examples for inspiration. This is a free-style class where you get to drive your learning as well!
Head on over to the Paperific website here for more details about the class as well as to book in (you need to scroll to the bottom for the booking form.
WHEN:Friday 29th August - Sunday 31st August 2014 WHERE: Alpine ash
mountain retreat - Toolangi, Victoria COST:$320 per person - includes all meals
and accommodation for 2 nights.
I will be teaching the scrapbooking page class above where you have a choice of colours to input into your page. This is a wonderful cause that affects so many people that I am honoured to be given the opportunity to donate my class to, so I'd love some amazing support to help us raise lots of much needed funds!
EVENT DETAILS:
Alpine ash is on the northern edge of the stunning Yarra Valley,
less than an hour’s drive from Melbourne.
This retreat is a Love Your Sister event aiming to spread the word
about breast cancer, raise funds for the Garvan Research Foundation and provide
the most rewarding scrapbook retreat possible!
Connie will be joining us for the weekend to share her story,
scrapbook and have some fun! The retreat will start at 4pm on Friday 29th
August and conclude at 2pm on Sunday 31st August. There will be loads of giveaways,
competitions and great prizes.
Join
in any or all of our free activities over the weekend, attend an exclusive
scrapbooking or card making class with Beck Beattie or Kylie Obst or simply
come to scrap and chat
I will also be joining ART is You mixed media Retreats - Mixed Media Roadshow in Melbourne:
August 20 - 24th Teaching this wonderful mixed media canvas
I will be teaching a mixed media technique focused class along with the Lovely Linda. Linda will be taking you through many techniques creating tags that feature each and every one of them, then in the afternoon you will join me to create a mixed media canvas learning to create texture and interest as well as leather embossing techniques. You can even choose the beautiful MDF decorative window frame to finish off and feature your beautiful Art Piece.
Class cost: $165 + $20 for the window frame if you wish to purchase it, which includes a special day of inspiring segments, divine lunch and personalised gift from Art-Is-You themselves!
Well how seriously exciting is this! Today I am so honoured to be part of Spellbinders® Summer Sneak Peek and Giveaway sharing with you today's projects along with Linda Lucas. I created two projects with the the new Glass Effects and Conversation bubble 4 die sets.
These die sets are seriously so much fun and so so versatile! I hope you find that as you get your hot little hands on them as I did! I am going to show you a number of different ways I have used them today (I have so many more! But we'll wait for another blog post for that)
Given the strong trendy and modern feel these dies I really wanted to create something with that feel. The die is really strongly suited to cards as such a fantastic background as you can see above, but I wanted to show you just how lovely it can be on a layout as well!
Here are the supplies list again in case you missed it in the video.
Spellbinders Products Used:
S4-451 - Glass effects
S5-138 – Conversation bubble
ES-006 – So Trendy (under the top layer of bunting flags)
If you have any questions reach out to us at ContestQuestions@Spellbinders.us - No entries will be accepted at this e-mail address A little more inspiration...
So I have already shown you 2 ways that the new Glass effects Die can be used, and here is a third along with another couple of uses for the conversation bubble 4! Don't you thing that clouds make the cutest ice-creams! I do, and I especially love this one with the stitching, and conversation pointer looking as though the ice-cream is dripping down the cone.
I SCREAM - YOU SCREAM -
WE ALL SCREAM FOR ICE-CREAM!!
Now for for a little tutorial to help you create your own!
TUTORIAL:
Create a card base from white cardstock folded in half to 6 x 7"
Cut/emboss using the Spellbinders Grand Callibur machine the 5 x 7 Matting Basics B #7 Die from some pattern paper, and layer onto the card base
Next, using the frame of the Glass effects die set, cut/emboss with some contrasting pattern paper add some twine with a bow and and layer onto the above cardstock as pictured.
To create the cone, simply EMBOSS only the glass effects die with some Kraft cardstock then cut it as big as you wish with some scissors. Add this to the cards as pictured with some foam squares underneath
Cut/emboss the larger conversation bubble from pink cardstock and embellish with some enamel dots, and layer this with some additional foam onto the Ice-cream cone
Cut/emboss the smaller of the conversation bubbles from white cardstock and using the Spellbinders Tool'n One, poke out the stitching de-bossed areas
FLIP OVER the white conversation bubble and use it to trace the shape onto some pink cardstock. Cut this shape out slightly larger than the line using it as a guide
Layer the white and pink Conversation bubbles and add your stamped sentiment and add this to your card with some foam squares.