
Yes as promised here I am back again to share some more inspiration for you 10 projects in fact! I have been busy creating lots of projects for the Downunder inspiration blog that I thought I would share some today on my blog. Hope you like what I have been creating and find something that inspires you to create as well.
I am going to kick off this large share with a little tutorial for a birthday card to show you how to create the perfect coloured frame to the edge of your die cuts.
Start off with the die template here I used Classic Rectangles large (S4-132) #4 die template.
 I took the Dark brown chalk and inked up the die template.
 I first cut out the feature element I wanted to keep in tact (the cake)
 I then placed the inked up die template where I wanted it to cut and stuck in in place with some tape.
 I cut/embossed the paper using the Grand Callibur Machine and die template, transferring the ink to the paper.
 As I removed the paper from the die template it has a beautiful colour frame to help it stand out. I added some dimension behind the piece as well as the cake for some added impact. I finished off the card with some die cut Spellbinders Sprightly sprockets. The perfect male card for my brother that was turning 40.


Here are a number of other projects I have been creating...


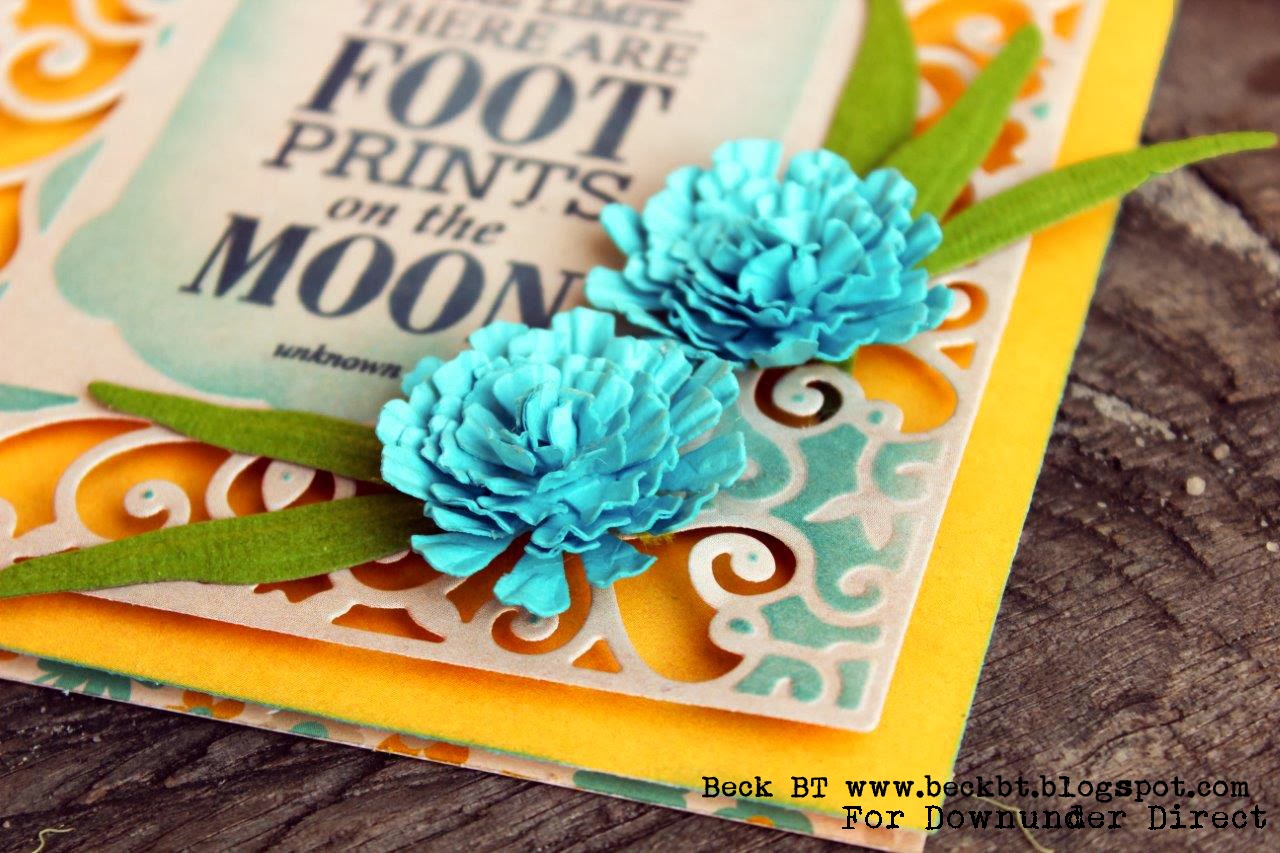
 I just love how easily this card comes together with Spellbinders Exquisite labels eleven. I teamed it up with Spellbinders Carnation Creations, it took me a little time to create them, but how pretty are they!


 Oh how much fun I had with the background on this one.... layers of Tsukineko/Imagine Crafts fireworks and goosebumps teamed up with some stamping and stencilling. Love how the circles in the various dies I used, work well together on this one.


Spellbinders gold technology is AMAZING! I just love that I can letterpress AND emboss all at the same time! Love the vintage look it gave this card.


Well I hope you enjoyed another large share from me today.
Looking forward to showing you some more real soon!

I am going to kick off this large share with a little tutorial for a birthday card to show you how to create the perfect coloured frame to the edge of your die cuts.
Start off with the die template here I used Classic Rectangles large (S4-132) #4 die template.


Here are a number of other projects I have been creating...
I really enjoyed playing around with the background on this layout. The whole layout was made using white cardstock although you'd never know it! Even the brown was coloured using some distress stain! I added sprays and splatters of colour. I also used some fun mixed media on this one with texture paste, gesso, metallic melts sealer and tea leaves. I also created most of the embellishments on this page from the frames to the flowers using Spellbinders dies. I only added a little lace and twine!




I love how simply embossing the cardstock can create more interest to a card as done on this card.


I love the pretty colours of this one. I added some embossed metal into the hat pin and coloured it with copics to get that beautiful effect.


The Bezels from Spellbinders are SO versatile. Again I embossed some metal and cut it out with the co-ordinating die, added embellishments some Ice Resin and ribbon and TA DA! A necklace. I also embellished it with one of the bird blanks I embossed and coloured... if you would like to see how this is done, check out my 'Emmy's post' for a step by step tutorial


Recently I taught a class and while showing the participants how to stencil with the ferro I started this layout. I really enjoyed building up the layers on this one with some stamping, gelatos smudged into the background with a baby wipe as well as stamping with the baby wipe to create more interest and texture. I also added gelatos over the ferro for a little more interest on the brick pattern. As I was creating all the colours myself I was able to tailor it to the pictures. I also used the gelatos to colour the layered pieces of paper behind the main white sheet and stitched them together. I also added some fun Spellbinders die cuts with the new Tile Works to finish it off.


For this one I was one again enjoying creating my own background an building the layers as it came along. I used so many different products, including Tinby Metallic melts, stencils, pastel pitt pencil, gelatos, gesso, goosebumps and gauze. It didn't need much more to finish off this page other than some Spellbinders die cuts in the Captivating Squares, Crisscross expandable pattern, Squares large and also a shield bezel. I rarely scrap such a small photo, but it just worked on this one.


Looking forward to showing you some more real soon!


